Monday 16 March 2015

Cinnamon sugar cookies

Hiya! After a surprise baby shower (not for me!!) that involved a huge tea party, visiting the grandparents and coming back to Germany, here's the nice simple recipe I promised in the previous post.


Sugar cookies are easy to make with little hands and easy to adapt to include different flavours: put some citrus peel in the dough, cover in chocolate or infuse with some lavender. The day I baked these, the temperature had shot back down to four degrees centigrade, and there's nothing quite like a touch of cinnamon to warm you up, so here's my recipe for Cinnamon Sugar Cookies, adapted from this Martha Stewart recipe.


Ingredients

25g / 1oz / 1/8 cup butter
50g / 2oz  / 1/4 cup white sugar
100g / 4oz / 3/4 cup plain or all purpose flour
1tsp baking powder
1tsp cinnamon
1tsp vanilla
pinch salt
1 egg

Note: If you're using salted butter, leave the salt out. And if you don't have plain flour and/or baking powder, self raising or cake flour will do the same job!
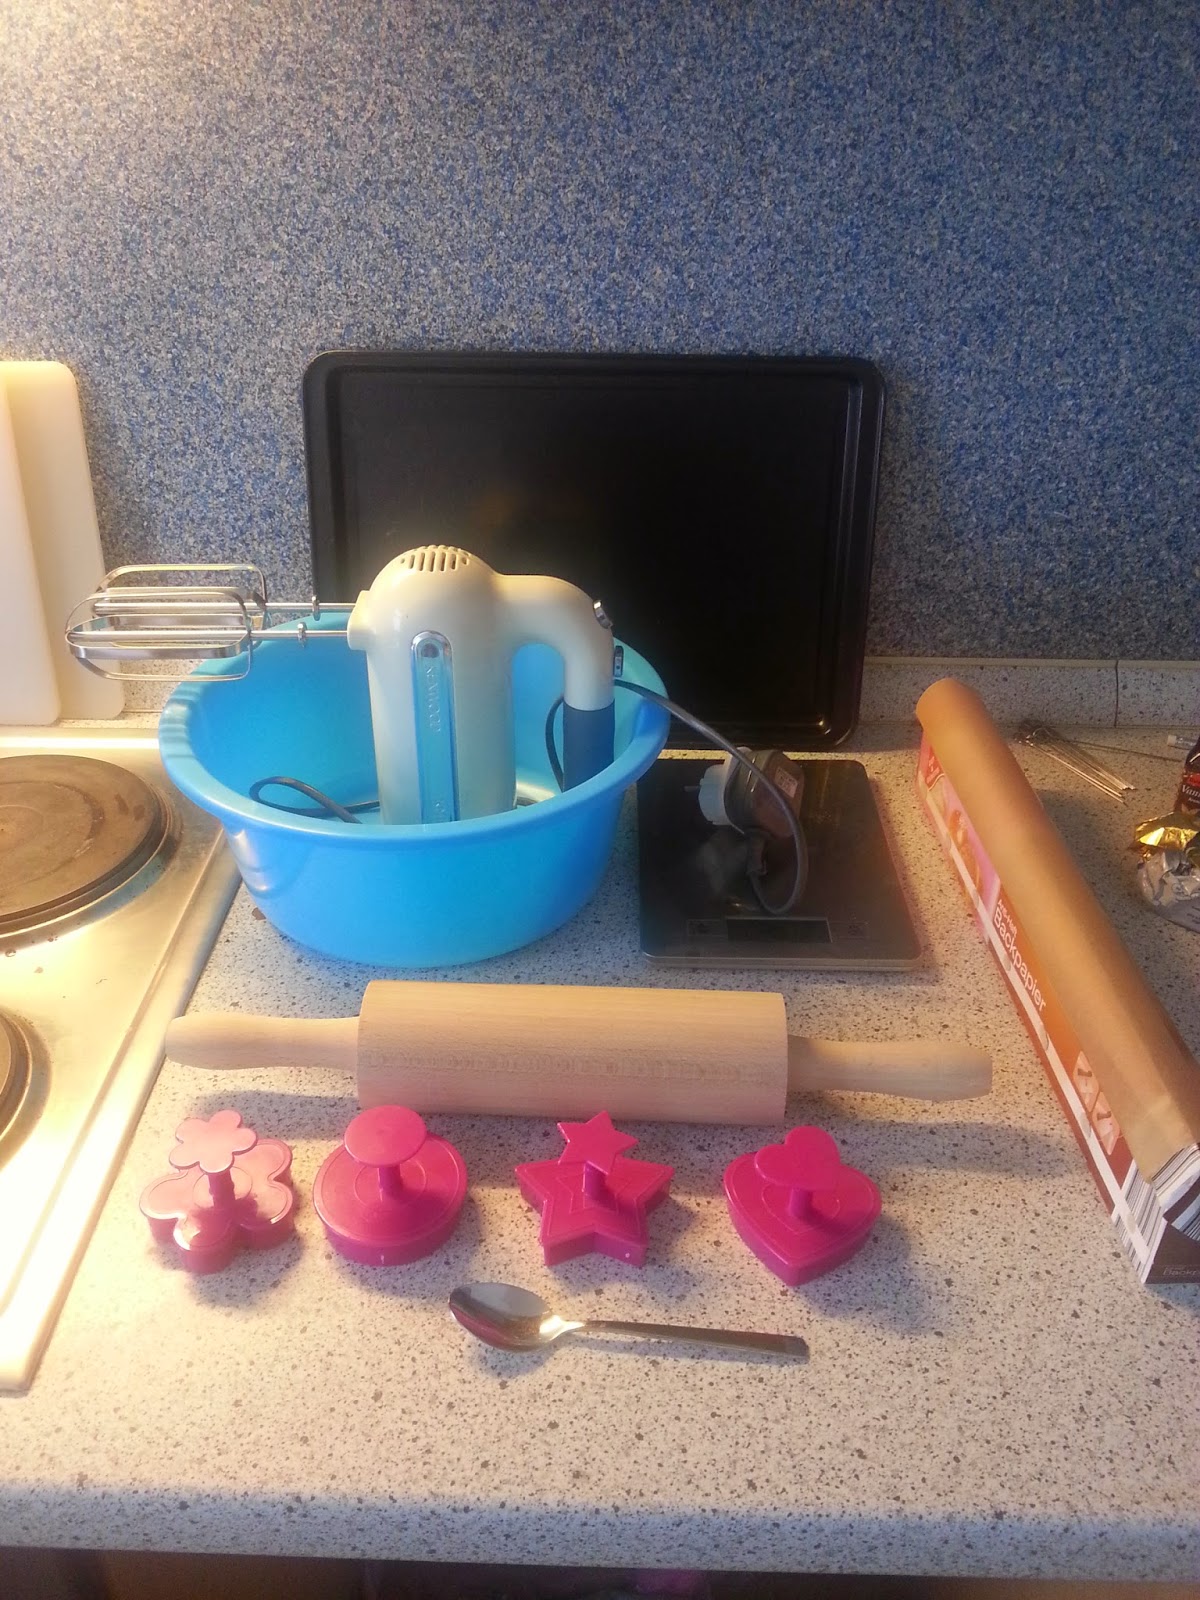

Equipment

Mixing bowl
Electric whisk or mixer (a wooden spoon will work fine, especially if you're baking with little ones. Jus soften the butter by leaving it out for 20 minutes first)
Rolling pin
Scales or measuring cup
Teaspoon
Greaseproof paper
Baking tray
Cookie cutters

I always think it's good to use as many cookie cutters as possible, as long as they give similar sized shapes, but if you don't have any a glass will work wonders, and a wine bottle makes a good rolling pin substitute. And if you have a sieve, it's always a good idea to sift the dry ingredients, not just to get rid of lumps and bumps (don't we all want that!?) but to help get air into the mixture and mix together the baking powder and flour nicely.

Making sugar cookies


Cream together the sugar and butter.


Add the egg and vanilla.


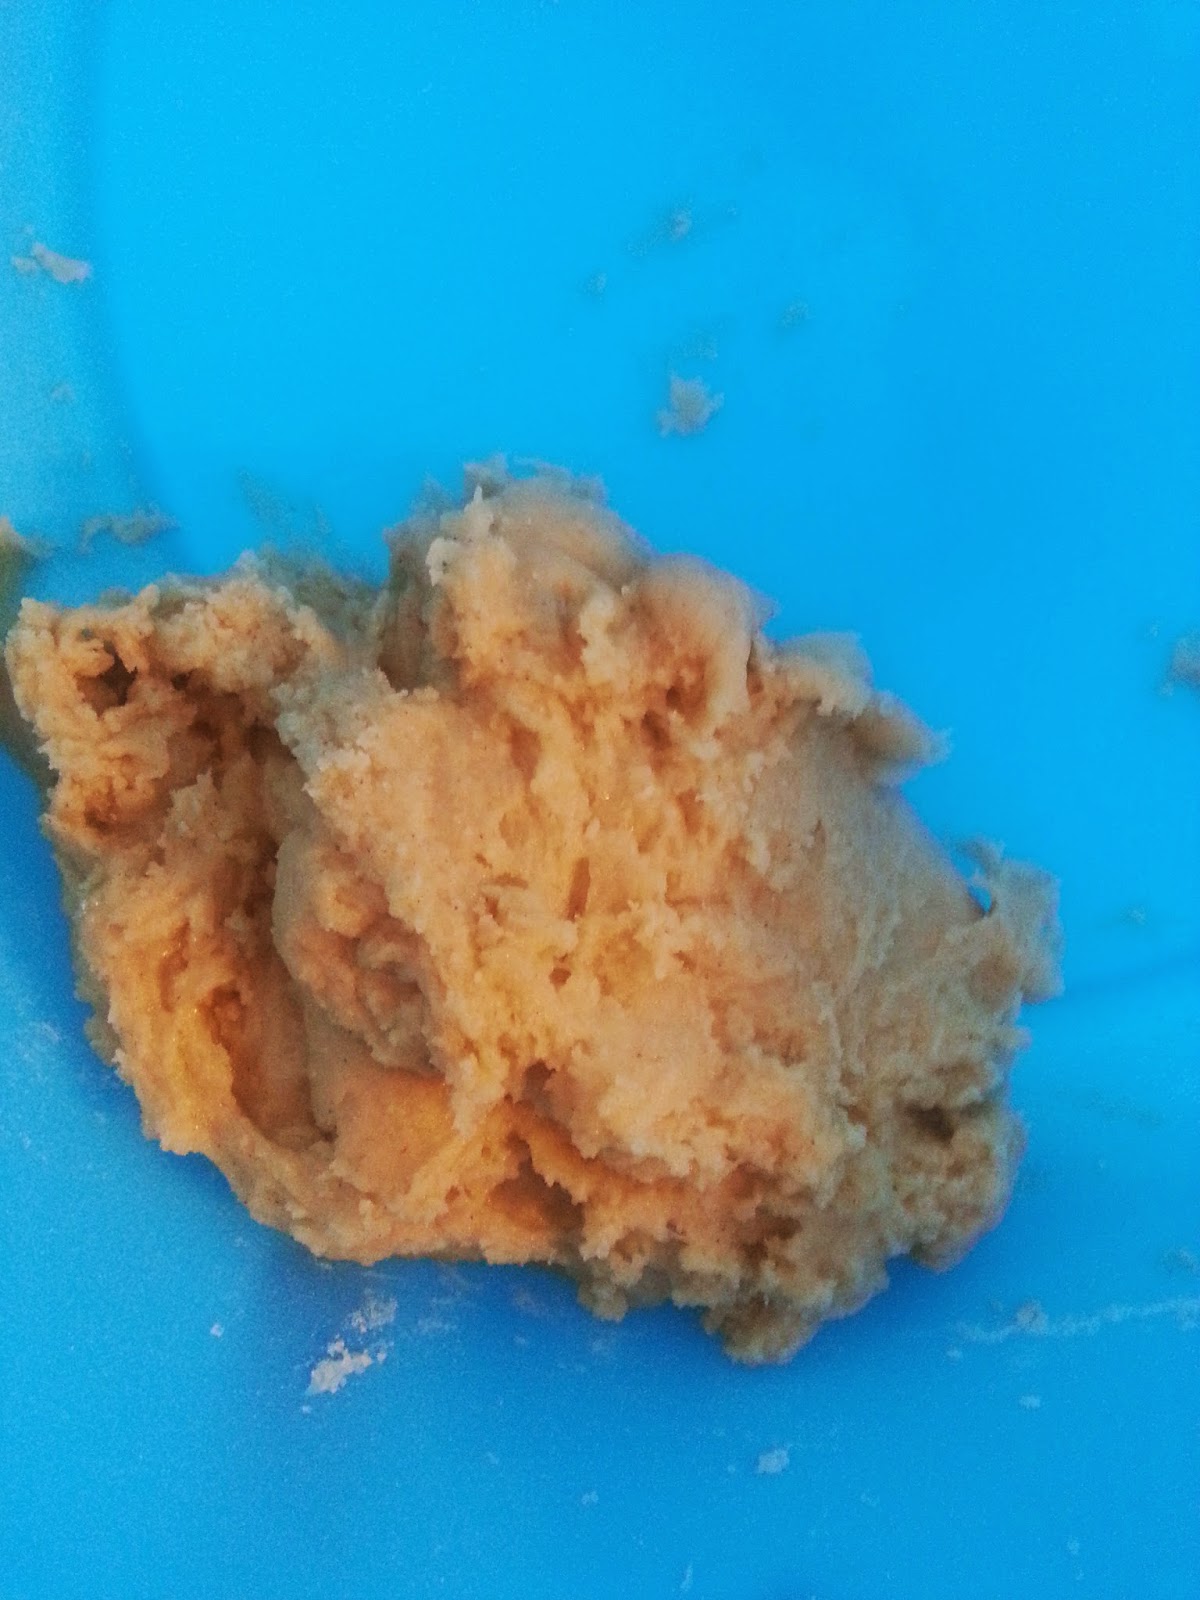
Mix in the dry ingredients 25g at a time. At some point the mixture will get too hard to mix with the electric whisk, so you'll need to get your hands dirty (kids love this!). When it's really well mixed, get it into a ball.


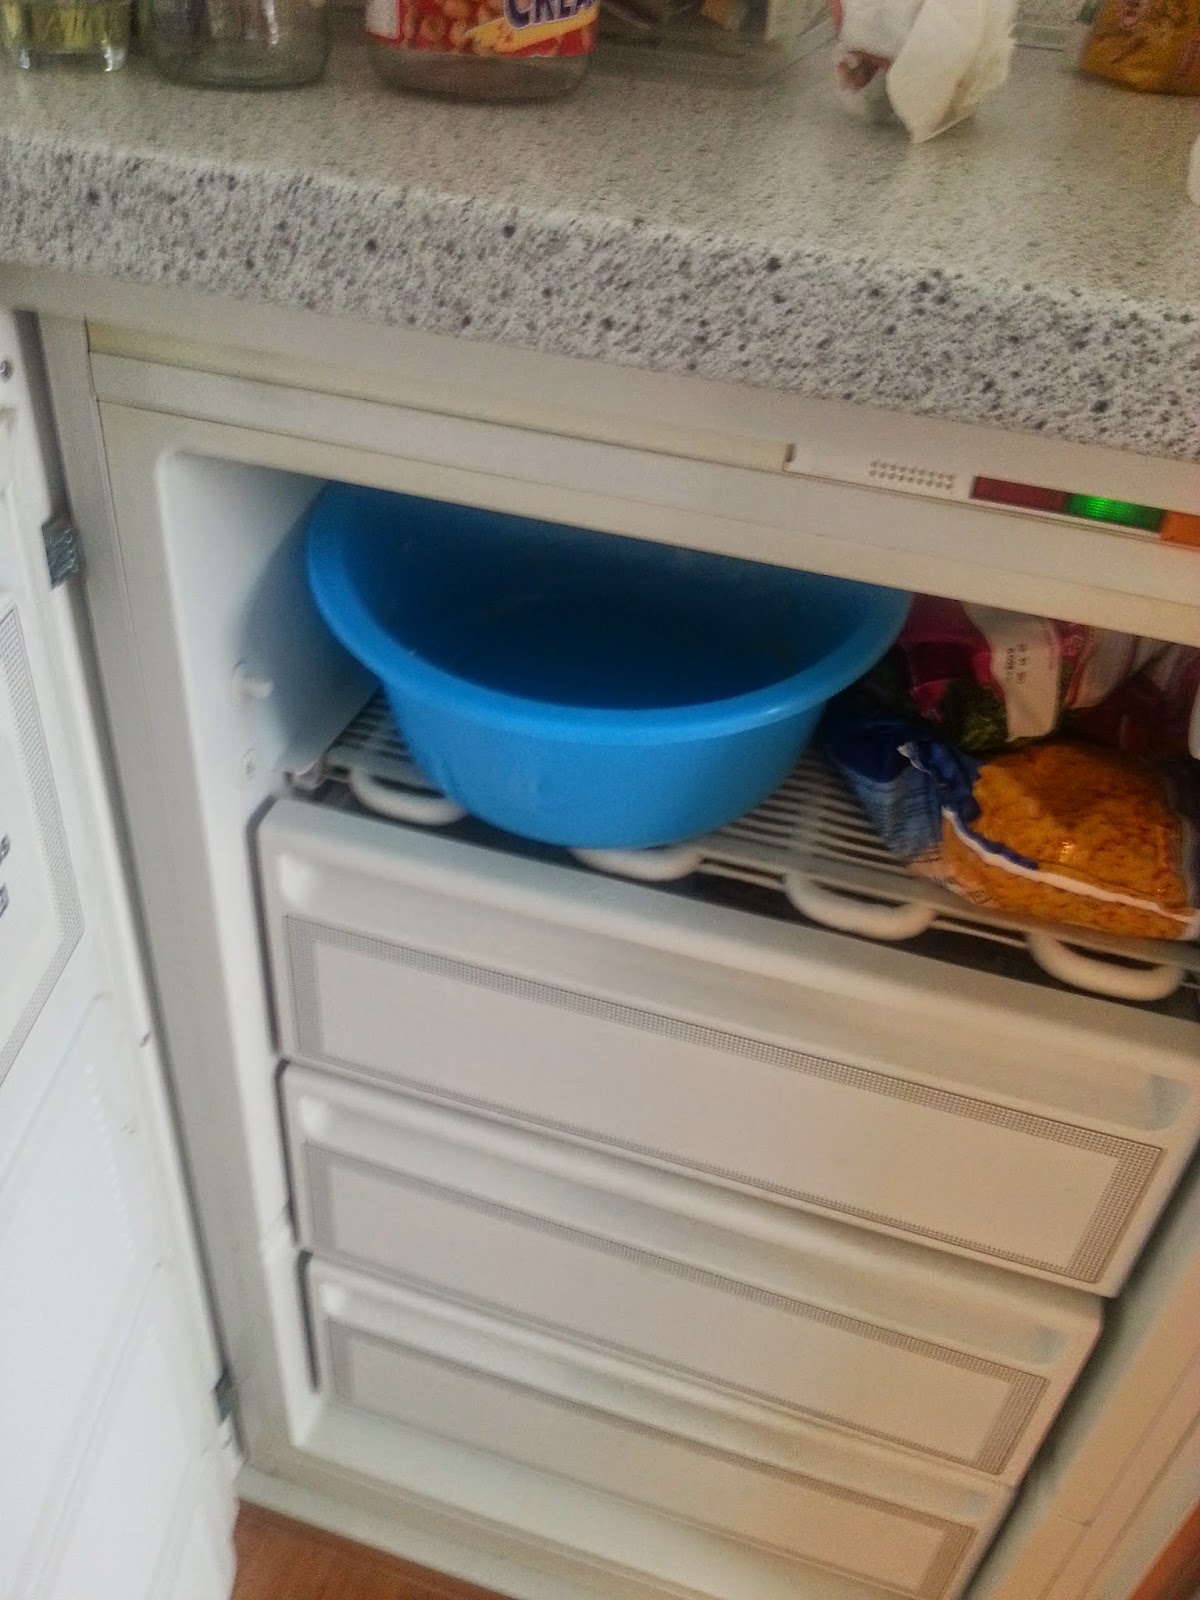
Stick it in the freezer for 20 minutes. It'll be ready when the dough is firm, but you can still put a fingerprint in it with a bit of pressure. While it's in the freezer, preheat the oven to 170C/325F/Gas mark 3.


Flour your work surface and the dough, and get rolling!


When your dough is the thickness of a pound coin or 1/8", start getting your cutters out. To make my life easier I start around the edge and work my way in, gather up all the scraps and roll out again for round two. When there's not enough for one last cookie, I always eat the last morsel!!


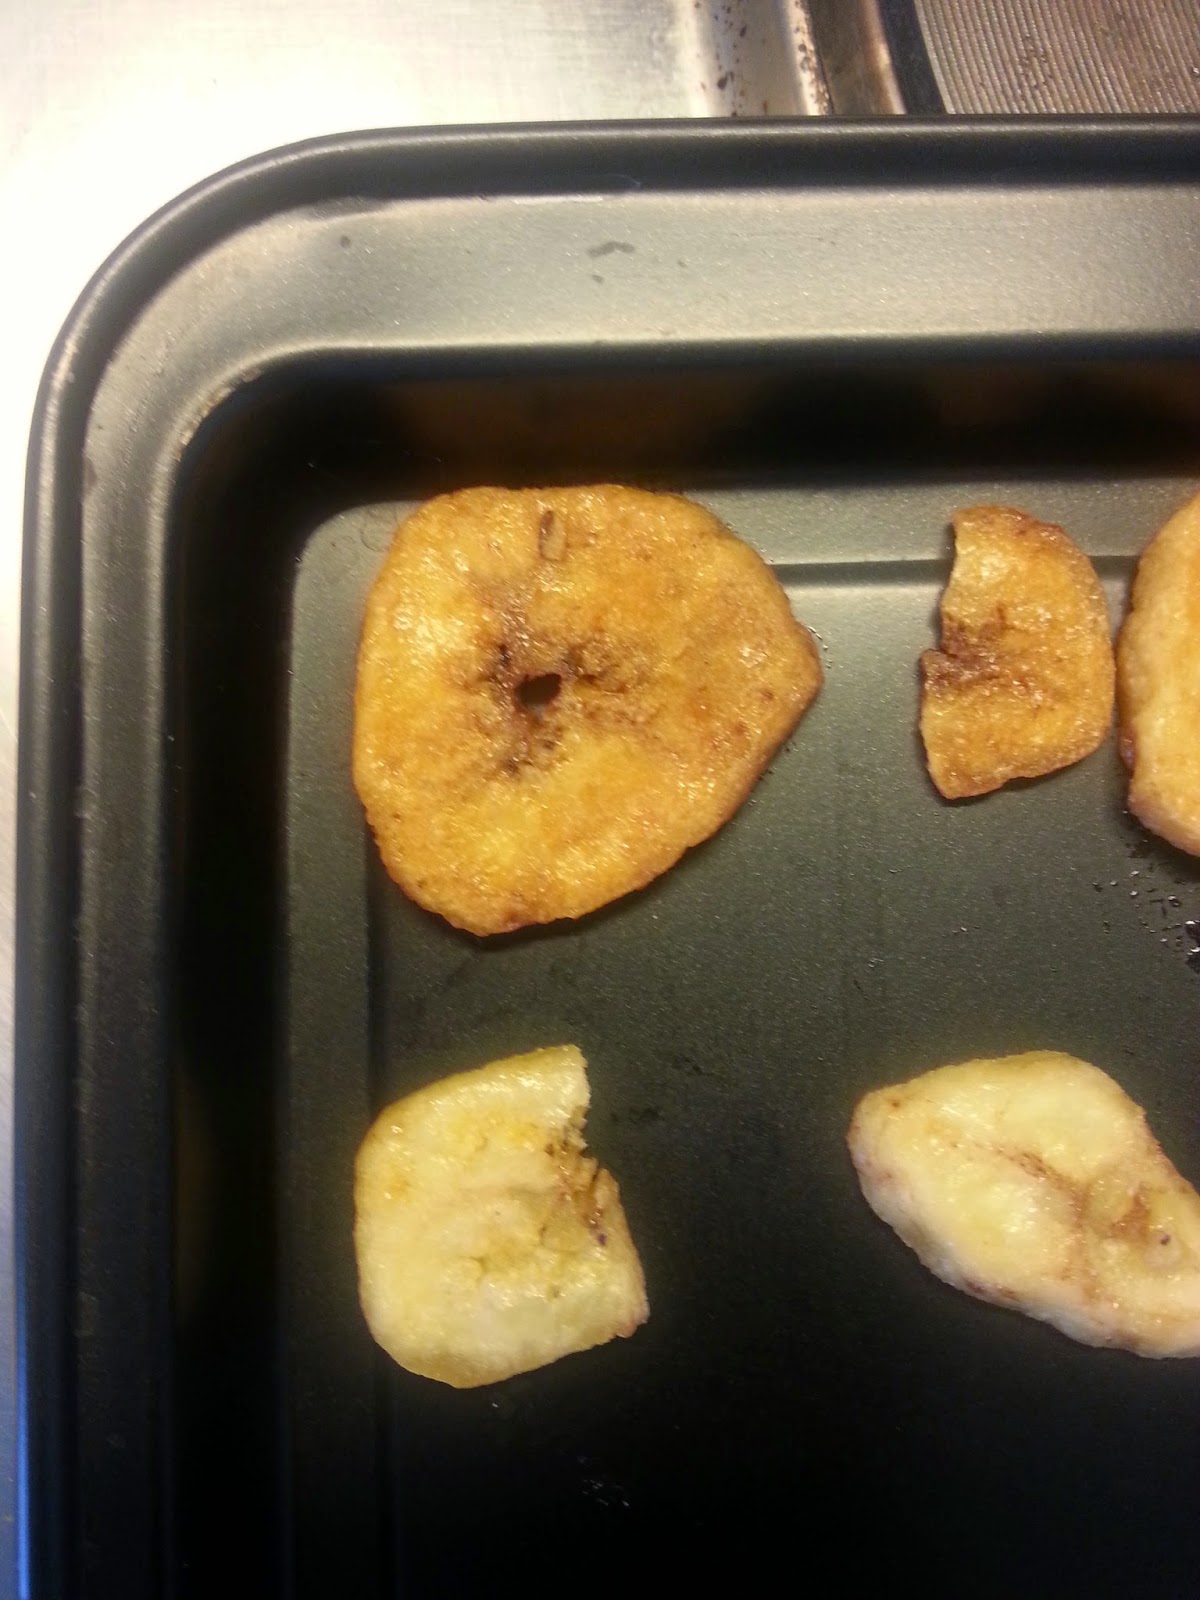
Pop them in the oven! Depending on your oven and the size of the cookies they'll take between 5-10 minutes. As soon as the edge starts to colour a teeny tiny bit, take them out of the oven. They'll still be really soft but they'll harden up in the cooler air.


Be careful when you lift them from the greaseproof paper. If they're sticking slightly, a lot of people use a metal spatula to prise them off, but I twist them gently and that does the job just as well.

And voilĂ !! These biscuits are easy to make, tasty and so versatile. At it's most basic, a good recipe does this: 

  • Take the amount of butter:
25g butter
  • Double that amount for sugar:
25g butter
50g sugar

  • Double that amount again for flour:
25g butter
50g sugar
100g flour

  • And for every 100g flour, add one egg and a teaspoon of baking powder, if using plain or all-purpose flour.
This is a fantastic starter recipe to experiment with. Create your own family cookies and enjoy!


Monday 2 March 2015

Banana Bread with Peanut Butter and Chocolate


Goooooooooood afternoon!

I was originally going to post a different recipe for my first, but after coming back from a coffee morning (in which I had just eaten my body weight in coconut macaroons) I realised I had some very sad looking bananas on the kitchen counter, and the best thing to do with overripe bananas is make banana bread!

I've made banana bread since I was a child, and the best recipe I've ever used was the one in my Usborne Child Atlas of the World (sadly, I no longer have this book), but this is a preeeeeeeetty good substitute. It's a recipe I've adjusted from Simply Recipes. Banana bread is so good plain, but I happened to have chocolate drops and peanut butter in the cupboard, so why not experiment a little?


I'll put the ingredients up in grams, ounces and cups, because I use a lot of American recipes and it drives me CRAZY that I constantly have to check measurements, although as an FYI, Allrecipes have a page that shows conversions really clearly.


Ingredients


  • 3 very ripe bananas, peeled
  • 75g / 3 0z / 1/3 cup butter
  • 150g / 5.5 oz / 3/4 cup sugar
  • 1 egg
  • 1 teaspoon vanilla extract
  • 1 teaspoon baking soda
  • 190g / 6.5 oz / 1 1/2 cups of all-purpose flour
  • 4 tablespoons peanut butter
  • 2 tablespoons milk
  • 50g / 2 oz / 1/3 cup chocolate chips (I used dark chocolate for the slight bitterness)
  • Drizzle of oil (for oiling the bread tin - I used 2 teaspoons)


  • Equipment
    • Bread tin
    • Small bowl
    • Measuring jug or scales
    • Electric whisk
    • Mixing bowl
    • Fork (you can use a blender if you have one)
    • Wooden spoon
    • Metal spoon (A tablespoon if you can one, I used a dessert spoon)
    • Pastry brush
    If you don't have a pastry brush to hand, a bit of butter on kitchen towel will oil up a tin, and you really don't need an electric whisk, the wooden spoon will work just fine to mix everything

    Method

    • Preheat oven to 170C / 325F / Gas mark 3
    • Oil the bread tin using the pastry brush. 
    • Mash the bananas in the small bowl with the fork. If you have a blender, it'll mash the bananas in 10 seconds flat!
    The smell of mashed bananas is soooooooo good!

    • In the mixing bowl, whisk the butter and sugar together. Feel free to zap the butter in the microwave for a few seconds to soften it.

    • Bung those bananas in!


    • Whisk in the egg. It's going to look a bit gross, but that's ok!

    • Add in the flour, 50g at a time, the baking powder and the vanilla essence. 


    • Add in the peanut butter and milk. Once you've done this, mix everything for a minute or two.


    • Fold in the chocolate chips with the wooden spoon.


    • Pour the mixture into the pre-oiled tin. Bake in the middle of the oven for roughly an hour (check after 50 minutes. Mine took exactly 50 minutes, it depends on your oven.)


    While the bread was in the oven, I did a quick experiment. I wanted to put banana chips on the top before it baked completely, but I thought I'd check how quickly they baked. On the bottom of the photo is unbaked banana chips, the top shows chips that were in the oven for five minutes! So it turns out they burn even quicker than I imagined, so instead of putting them on the bread I ate them while waiting for the loaf...

    • Take the loaf out of the oven when it's a nice golden brown colour. If you have a metal skewer, you can check it's done all the way through by poking it into the middle of the bread (try and avoid the chocolate chips!), and if it comes out clean, you've successfully baked your Banana Bread!!  


    • Let the tin cool, then run a sharp knife around the loaf. Take out the loaf and let cool on a wire rack.


    Note: If you're going to take a picture of your new creation, remember to do that before you start eating it. Oops!

    Ok, that's the first recipe on my blog!! Feel free to comment or share pictures of your bread. I hope you enjoy your Banana Bread with Peanut Butter and Chocolate!


    Wednesday 25 February 2015

    Hello!

    Hi!

    Welcome to my brand new blog! I'm really excited about doing this...

    Here I'm going to post recipes with step-by-step photos, ranging from stuff you can make with the kids to ancient recipes, from full fat goodies to gluten-, egg- and wheat-free sweetness, and from cakes and bakes to anything else I might muster up in the kitchen! There might be a few bits to do with baking science, equipment and general baking musings.

    I'm an amateur baker and I'll make as many mistakes as anybody else, and I promise to post any disasters!!

    The reason I'm starting this blog is because I LOVE BAKING!! I bake about twice a week and I enjoy writing, so why not combine the two? I've been lucky enough to travel with my job (I'm a singer, used to work on cruise ships) for the past couple of years, and now I've stopped hopping on and off a boat, I finally have time to indulge my other love!

    I'm off now. I wish I could say it was to bake something yummy, but I have to wash my bedding. The rock and roll lifestyle never stops...